Create New Encounter Type
- General information
- Step-by-step
- Encounter Type Details tab
- Setup Form Normal Values
- Document Templates for this Encounter Type tab
- Saving the New Encounter Type
- Related topics
General information
Encounter Types enable the user to categorize different kinds of Encounters.
- An Encounter Type must have an Encounter Form associated with it.
- An Encounter Type may optionally have Document Templates associated with it.
- To create a Patient Encounter, an Encounter Type must be created first.
Step-by-step
- Open the Encounter Types window (for help, click here).
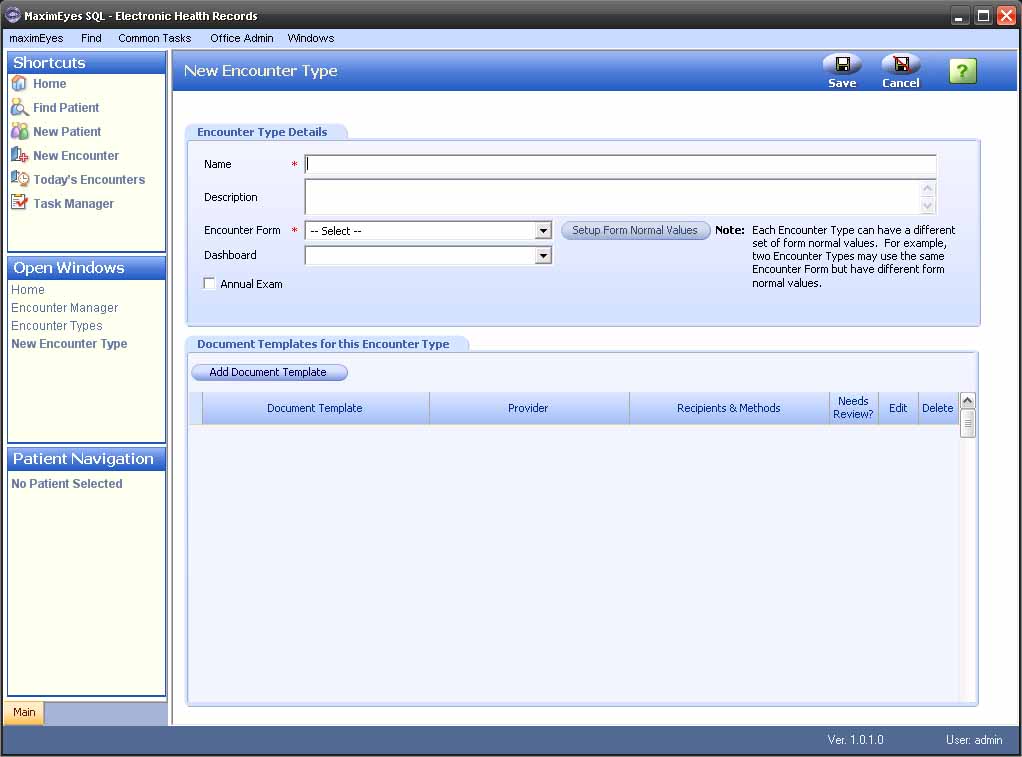
- Click the New Encounter Type button in the Encounter Types window Main toolbar.
- The Encounter Type Details tab displays in the upper half of the window.
- The Document Templates for this Encounter Type tab displays in the lower half of the window.
- The cursor is in the Name field.
- The Open Windows list updates to display New Encounter Type.
- Enter the Encounter Type data for the Encounter Type Details tab and Document Templates for this Encounter Type tab.
Encounter Type Details tab
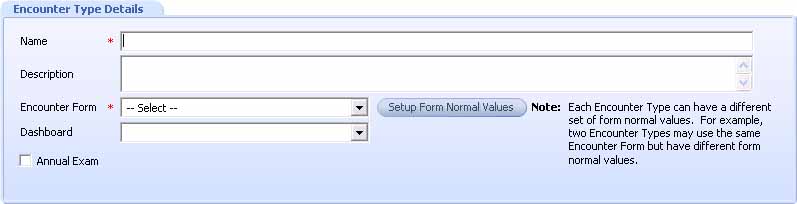
Use these fields to define the following. Required fields are marked with a red asterisk.*
- Encounter Type name. *
- Encounter Type description.
- Encounter Form with which the Encounter Type is associated. *
- Set up Form Normal Values button.
- Dashboard (not implemented at this time).
- Designate this Encounter Type as a patient's Annual exam.
Setup Form Normal Values
For an Encounter Type, Form Normal values can be specified for each of its form Encounter Elements that support Normal values.
The assigned value is only valid for that Element as part of the Form and Encounter Type with which it is associated. Therefore, an Element could have different Form Normal values for each form of which it is part.
- Click the Setup Form Normal Values button. The Setup Form Normal Values popup displays on top of the New Encounter Type window.
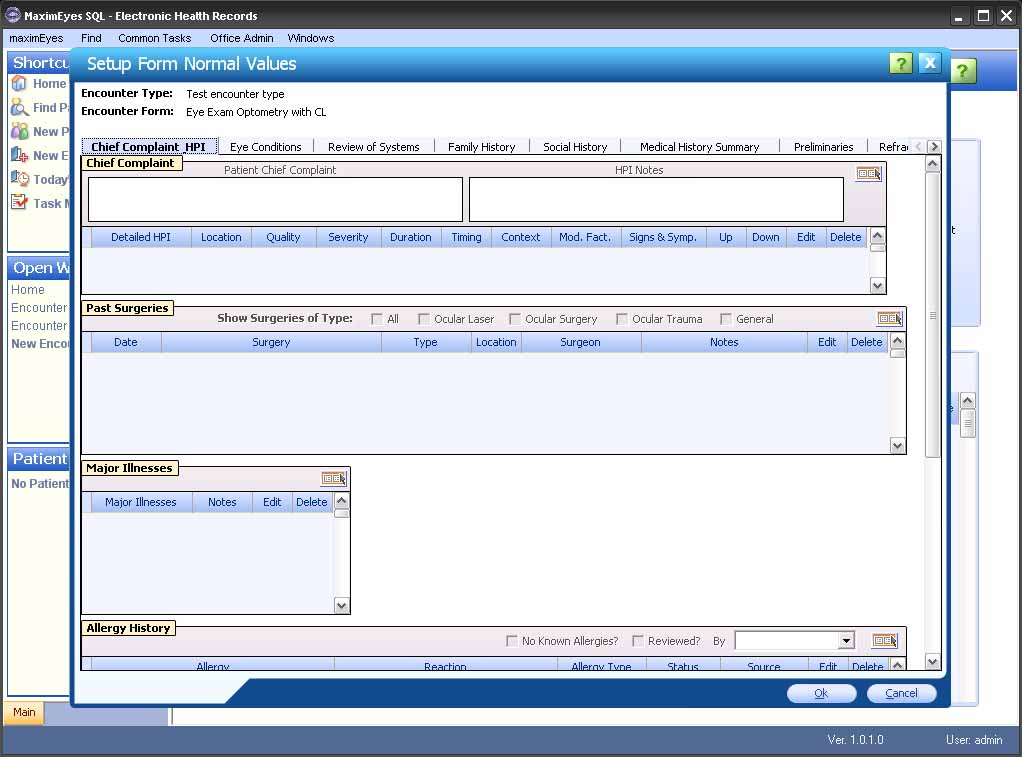
- The names of the pages of the Encounter Form with which the Encounter Type is associated display in a horizontal list.
- The first page is selected; its name is highlighted in blue.
- To display a different Form page, click its Name tab.
- Use the left and right arrows
 at the right end of the horizontal Page name list to scroll through the list of Form pages.
- For each Form Page, define Form Normal values for its Elements that support Form Normal values.
Encounter Element Normal values are set up from within the Edit Element window.
- For help on editing an Encounter Element, click here.
- For help on setting up Normal values for an Encounter Element, click here.
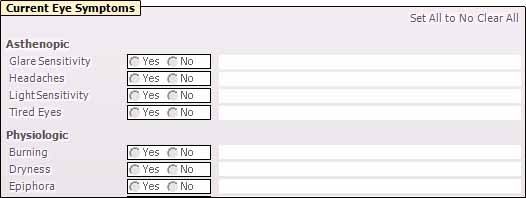
Elements that support Normal values:
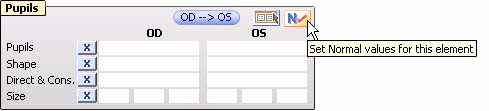
- Display as active.
- Display the Setup Normal values for this element button in the upper-right corner of the Element.
- To automatically fill in the Normal values for an Element, click the Setup Normal values for this element button.

Elements that do not support Normal values:
- Display as inactive (text is grayed-out).
- Do not display the Setup Normal values for this element button in the upper-right corner of the Element.
- To change the Normal values for an Element only as it applies to this Form associated with this new Encounter Type, click the Open Data Entry screen button
 to the left of the Setup Normal values for this element button. For help, click here.
- Continue selecting pages and defining Elements that support Normal values.
- To close the Setup Form Normal Values popup and save changes, click the OK button.
- The Setup Form Normal Values popup closes.
- The New Encounter Type window displays in the Contents Pane.
- To close the Setup Form Normal Values popup without saving changes, click the Cancel button.
- A warning displays, asking you to confirm closing without saving changes. Click the Yes button to confirm.
- The Setup Form Normal Values popup closes.
- The New Encounter Type window displays in the Contents Pane.
Document Templates for this Encounter Type tab

The user can associate multiple Document Templates (as set up in the Office Admin Document Management  Document Templates module) with an Encounter Type, as well as the various Recipients and Sending mode/method for each. These Documents will automatically appear in the Final Outbound Documents Element when the Patient Encounter is created using the Encounter Type.
Add Document Template
- Click the Add Document Template button to add a Document Template for the Encounter Type.
- The Associate Document Template for Encounter Type [Name] popup displays on top of the Edit Encounter Type window.
- The cursor is in the Document Type drop-down list.
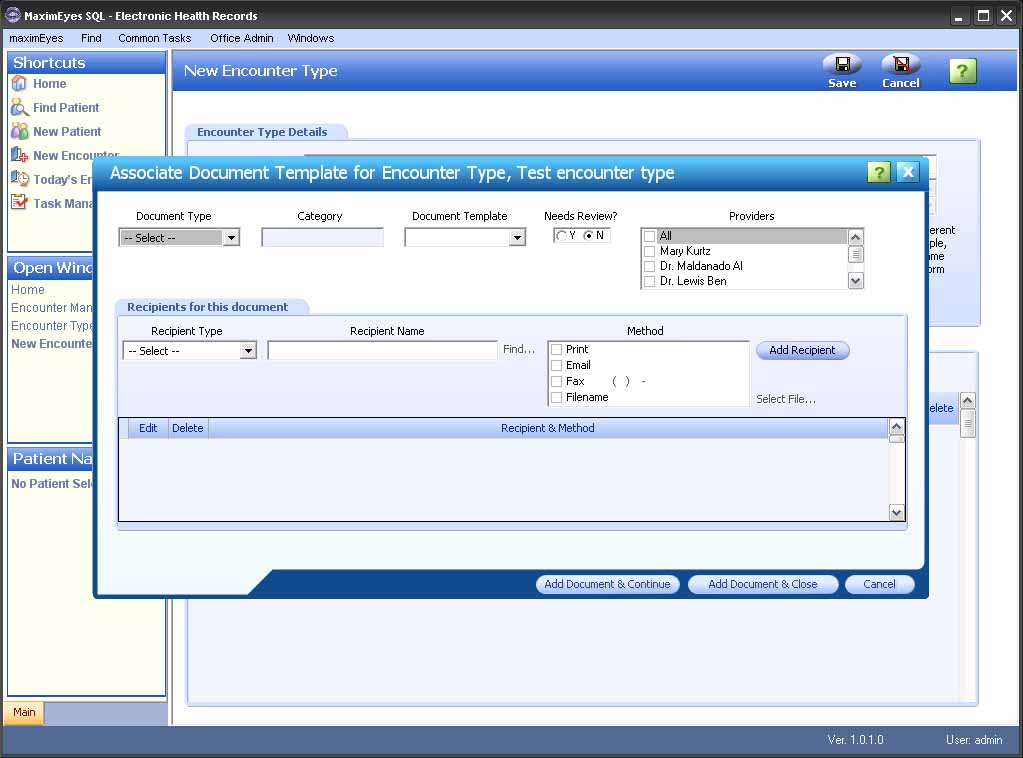
- Enter the desired fields for the Associated Document Template (for help, click here).
- To save the added Document and add another Document, click the Add Document & Continue button.
- The Associate Document Template for Encounter Type [Name] popup displays.
- The fields are reset.
- The cursor is in the Document Type drop-down list.
- To add a Document and close the popup, click the Add Document & Close button.
- The Associate Document Template for Encounter Type [Name] popup closes
- The New Encounter Type window displays.
- To close the popup without saving changes, click the Cancel button.
- A warning displays, asking you to confirm closing without saving changes. Click the Yes button to confirm.
- The Associate Document Template for Encounter Type [Name] popup closes.
- The New Encounter Type window displays.
- To save the added Document and add another Document, click the Add Document & Continue button.

Edit Document Template
- Click the Edit button
 in the Document Template name row.
- The Edit Associated Document Template for Encounter Type [Name] popup displays on top of the Edit Encounter Type window.
- The cursor is in the Document Type drop-down list.
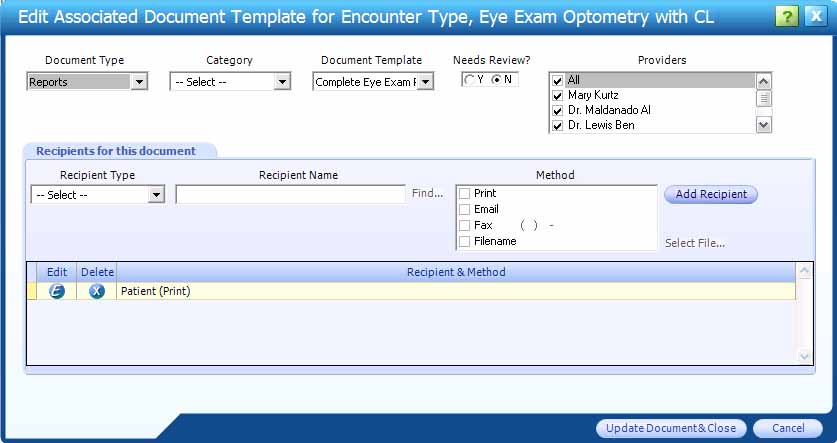
- Make changes as desired (for help, click here).
- To save the edited Document and close the popup, click the Update Document & Close button.
- The Edit Associated Document Template for Encounter Type [Name] popup closes.
- The New Encounter Type window displays.
- To close the popup without saving changes, click the Cancel button.
- A warning displays, asking you to confirm closing without saving changes. Click the Yes button to confirm.
- The Edit Associated Document Template for Encounter Type [Name] popup closes.
- The New Encounter Type window displays.
- To save the edited Document and close the popup, click the Update Document & Close button.
Delete Document Template
When a Document Template is deleted, only the link between the Document and the Encounter Type is removed. The Document Template and the Encounter Type are not deleted from the system.
Click the Delete button  in the Document Template name row. A warning displays.
- Click the Yes button to remove the link between the Document and the Encounter Type. The Document Template no longer displays in the Documents for This Encounter Type tab.
- Click the No button to cancel the deletion.
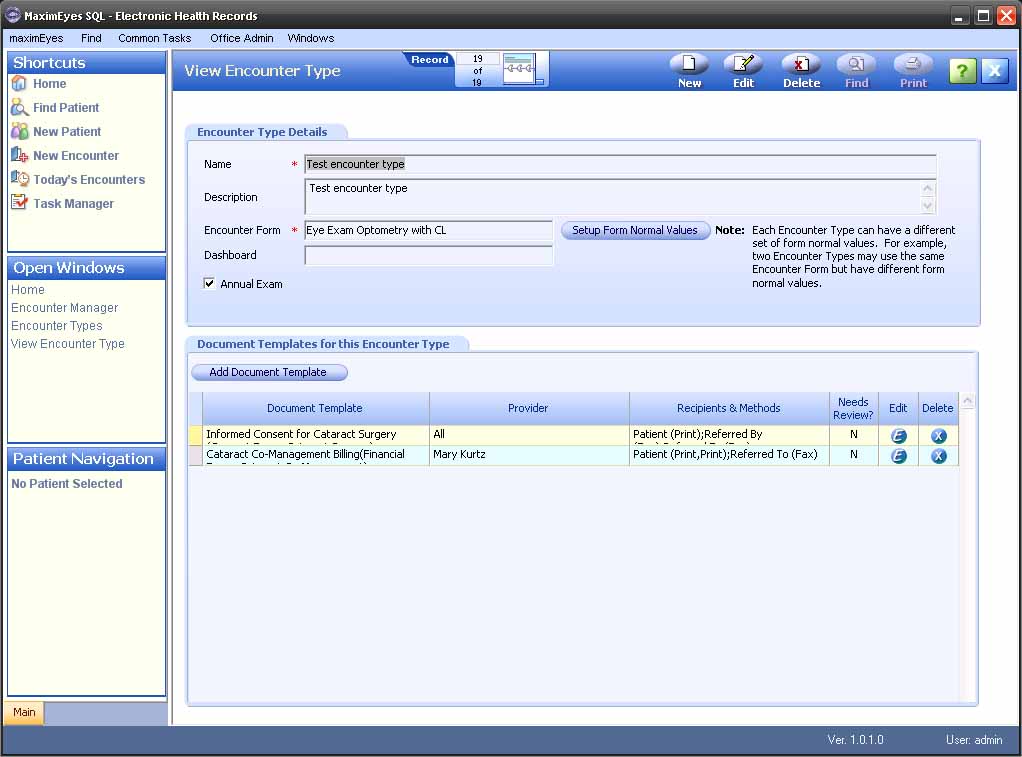
Saving the new Encounter Type
After all Form Normal Values have been defined and all Document Templates have been associated with the Encounter Type, save it by clicking the Save button on the Main toolbar.
- The New Encounter Type window closes.
- The View Encounter Type window displays in the Contents Pane. For more information, click here.
- The Name field is highlighted.
- The Rolodex in the Main toolbar displays the updated count of Encounter types on the system.
- The Open Windows list in the Left Pane displays View Encounter Type.
- The new Encounter Type name displays at the end of the Encounter Types list in the Encounter Types window.
Note: All Encounter Type names must be unique. If you try to save an Encounter Type using an existing Type name, an error message will display.
To close the New Encounter Type window without creating a new Encounter Type, click the Cancel button on the Main toolbar.
- The New Encounter Type window closes.
- The Encounter Types window displays in the Contents Pane.
- The Open Windows list in the Left Pane displays Encounter Types.
 Top of Page