Edit Encounter Element
For an overview of editing an Encounter Element, click here.
- Step-by-step
- Secondary toolbar
- New Fields list
- Element Details tab
- Save changes to the Element
- Related topics
Step-by-step
- Open the Edit Element window (for help, click here).
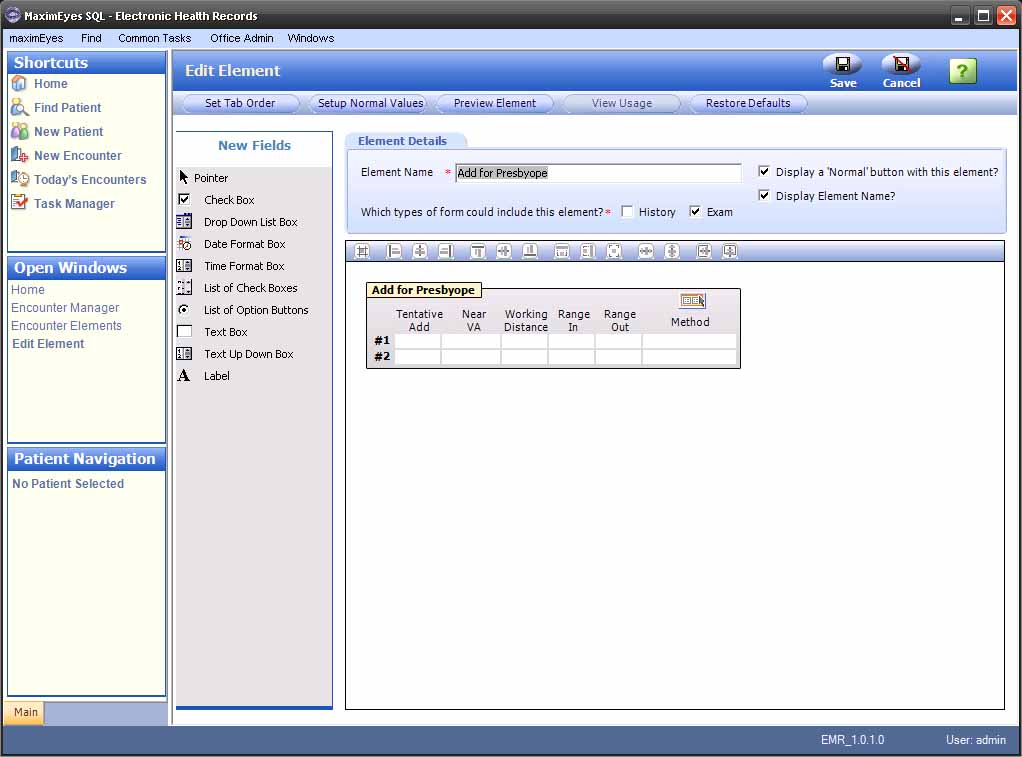
- The Edit Element window displays in the Contents Pane.
- In the Secondary toolbar:
- The Setup Normal Values button is enabled for those Elements that support Normal values.
- The View Usage button is inactive.
- Below the Secondary toolbar:
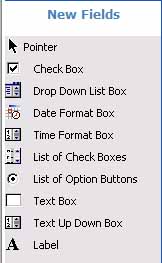
- The New Fields list displays on the left.
- The Element Details tab displays on the right.
- The Alignment Tools for the Element View (appearance) display directly below the Element Details tab.
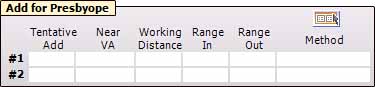
- The Element View displays below the Alignment Tools.
- The Element Name field in the Element Details tab is highlighted.
- The Open Windows list updates to display Edit Element.
- Make changes as desired, using the Secondary toolbar buttons, the New Fields list, and/or to the items in the Element Details tab and Element View.
- To save changes to the Encounter Element, click the Save button in the Main toolbar.
- The Edit Element window closes.
- The View Element window displays in the Contents Pane.
- View Element replaces Edit Element in the Open Windows list.
- To close the Edit Element window without saving changes, click the Cancel button in the Main toolbar.
- If you have made changes and have not yet saved them, a warning displays, asking you to confirm closing without saving changes. Click the Yes button to confirm.
- The Edit Element window closes.
- The View Element window displays in the Contents Pane.
- View Element replaces Edit Element in the Open Windows list.
Secondary toolbar
Use to perform these actions:

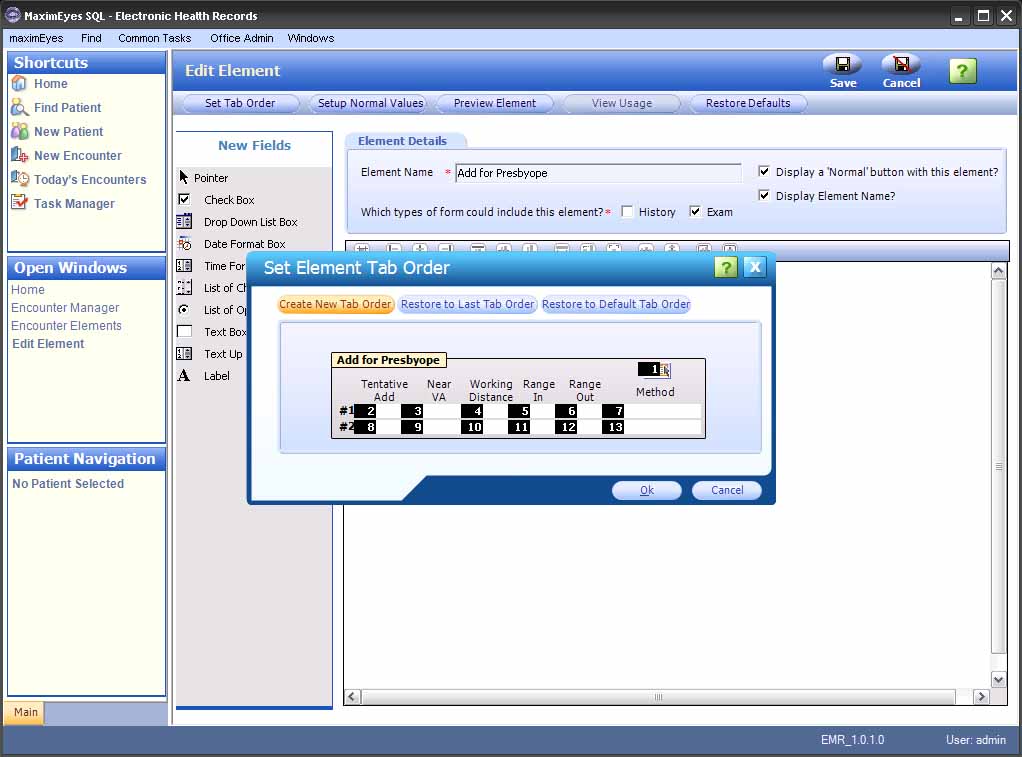
- Set Tab Order: Change the order the user moves through the Element fields when using the Tab key. For more information, click here.
- Setup Normal Values: Enter the Normal values for the Element. These values are displayed on the Patient Encounter window when the user clicks the Normal button for the element. Note: This button is active for only those elements that support Normal values. For more information, click here.
- Preview Element: Display the Element as it is currently defined. Until the Element is saved, any changes made are not saved.
- View Usage: Display a list of Encounter Forms where this Element is used.
Note: This button is not working as expected; please ignore it.
- Restore Defaults: Overwrite all changes made to the Element with Default values.
When you click a Secondary Toolbar button
- The popup window associated with the button displays on top of the Edit Element window.
- Depending on the button, the values in the popup window can be edited.
Note: When you click a button on the Secondary toolbar from the View Element window:
- The View Element window closes.
- The Edit Element window for that Element displays in the Contents Pane.
- Edit Element replaces View Element in the Open Windows list.
- The popup window associated with the button displays on top of the Edit Element window.
- Depending on the button, the values in the popup windows can be edited.
Closing a popup window
To close a popup window, do one of the following:
- Click the OK button to close and save changes
- Click the Cancel button to close without saving changes.
When you close a popup window:
- The Edit Element window continues to display in the Contents Pane.
- The Open Windows list displays Edit Element.
New Fields List
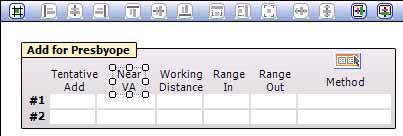
Use the New Fields list to customize an Encounter Element.
- Use the mouse to drag and drop a field from the New Fields list:
 to the Element View:
- Use the Alignment Tools to align and resize the added field. Only those tools which are applicable to the selected Element(s) are active (not grayed-out).

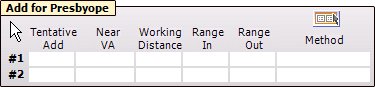
- To select an existing field in the Element View to edit, click the field.
- The selected field is highlighted.
- The applicable Alignment Tool(s) is active. Alignment Tools that are not applicable display as grayed-out.
- Use the Alignment Tools or mouse to make the desired changes.
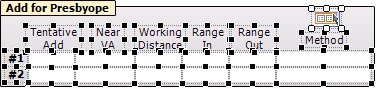
- To select multiple fields in the Element View to edit, hold the Shift key down as you select multiple fields.
- To select all the fields in the Element View to edit:
- Hold the Shift key down.
- With the mouse, click inside the upper-left corner of the Element View.
- Drag the cursor to the lower-right corner of the Element View.
- Release the mouse. All fields are selected.
- To de-select a field in the Element View, click anywhere outside the field.
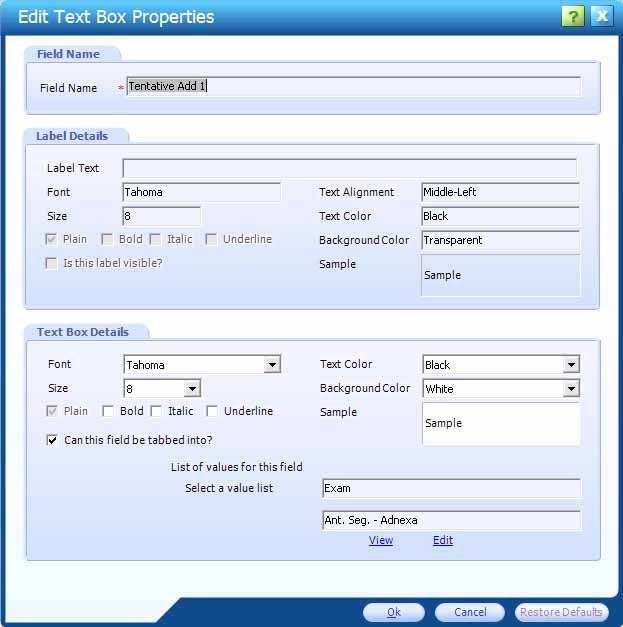
- To change the look-and-feel of a field, right-click the field.
- Click Setup Properties.
- The Edit [Field Name] Properties popup displays.
- Make the desired changes.
- Do one of the following to close the popup:
- Click the OK button to save changes.
- Click the Cancel button to close without saving changes.
- Click the Restore Defaults button to restore default values.
- To save changes made using the New Fields list, click the Save button in the Main toolbar.
- The Edit Element window closes.
- The View Element window displays in the Contents Pane.
- View Element replaces Edit Element in the Open Windows list.
- To close the Edit Element window without saving changes made using the New Fields list, click the Cancel button in the Main toolbar.
Note: If you have made changes and have not yet saved them, you will be prompted to confirm whether you wish to close the window without saving the changes.
- The Edit Element window closes.
- The View Element window displays in the Contents Pane.
- View Element replaces Edit Element in the Open Windows list.
Element Details tab
Use the mouse to make changes to all Element Details fields except History/Exam designation.
- The Element name cannot be changed if it is used on an Encounter Form.
- For those Elements that do not support Normal Values, the Display a 'Normal' button with this element? check box is disabled.

To save changes to the Element
To save changes made using the Edit Element window, you must click the Save button in the Edit Element Main toolbar.
 Top of Page