Edit Patient Record
- Step-by-step
- Patient Alerts
- Associating a Photo with a Patient Record
- Task Manager bar
- Related topics
Step-by-step
- Open the Find Patient window (for help, click here).
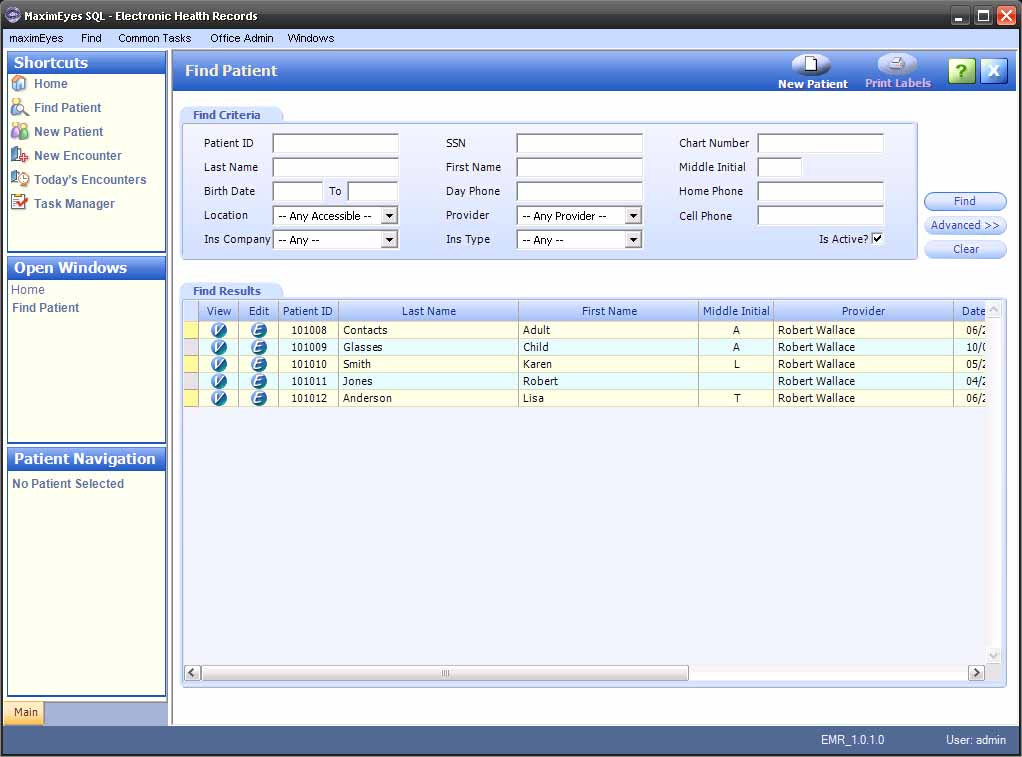
- Enter search criteria and click the Find button. The Find Results tab displays.
For the desired Patient Record, click the Edit button.

Note: You can also edit a Patient Record from within the View Patient Record window, by clicking the Edit Patient Record button on the Main toolbar. - The Edit Patient Record window appears in the Contents Pane, with the Patient Last Name highlighted.
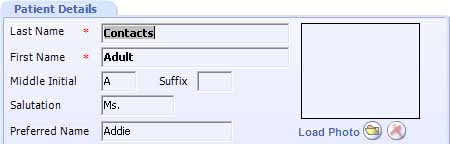
- The cursor is in the Last Name field of the Patient Details tab.
- Required fields are marked with a red asterisk. *
- The Open Windows list updates to display Edit Patient Record.
- The Patient Navigation list displays the selected patient's name and a navigation tree for accessing the patient's Record, Encounters, Optical, Medications and Cataract Surgery Sheet.
Note: For those patients who have not had cataract surgery, a message to this effect displays when Cataracts Surgery Sheet is clicked. - The Status Bar updates to include the Task Manager.
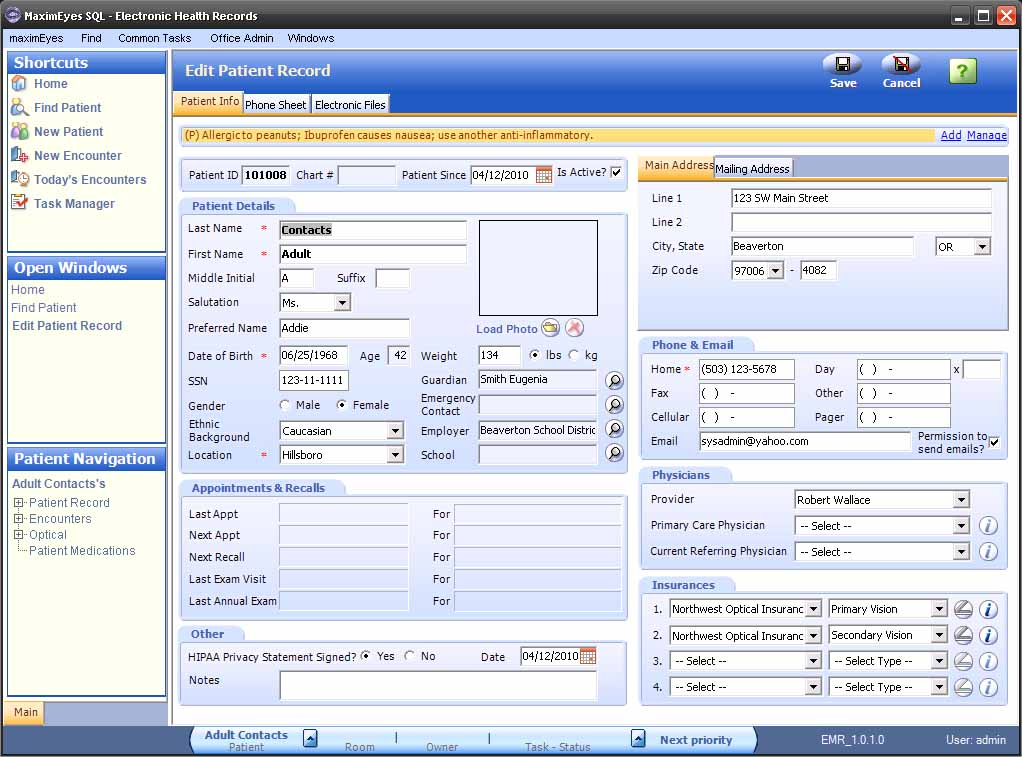
- Using the Tab key or mouse to move between fields, edit the data.
- To enter, edit or clear data in the Guardian, Emergency Contact, Employer or School fields, click the Magnifying Glass icon
 to the right of the field.
- To scan an insurance card to associate with an insurance policy, click the Scanner icon
 to the right of the corresponding insurance company name.
- Click the Phone Sheet tab to manage patient-specific Notes (phone conversation, general information, etc.). For more information, click here.
- Click the Electronic Files tab to managed Electronic Files associated with the patient record. For more information, click here.
- To save the entered data, click the Save button on the Main toolbar.
- The Edit Patient Record window closes.
- The View Patient Record for the patient whose data you updated displays in the Contents Pane.
- The Open Windows list displays View Patient Record.
- To close the Edit Patient Record window without saving the changes, click the Cancel button on the Main toolbar.
- The Edit Patient Record window closes.
- The View Patient Record for the selected patient displays in the Contents Pane.
- The Open Windows list displays View Patient Record.
Note: Several fields, such as Guardian, Employer and Insurances, may contain additional information. Click the Information icon to the right of the field to display and/or print these additional details.
Patient Alerts
MaximEyes® SQL allows the user to add important health information, such as allergies, for each patient in the form of an Alert. Unless they are marked Private, Alerts display in the Alert Bar (located below the Patient Info  Phone Sheet Electronic Files tabs).

For more information, see Add Patient Alert and Manage Patient Alert.
Associating a Photo with a Patient Record
The upper-right corner of the Patient Details tab includes an area to display a photo associated with the Patient Record.
Upload an existing photo
Use this option to upload an existing photo to associate with the patient.
- Click the Upload button.
 The Open File dialog displays.
- Browse to the location of the photo.
- Click the photo file name to select it, and then click OK. The photo displays in the box to the right of the Patient Last Name field.
Task Manager bar
The Task Manager bar displays in the Status bar, at the bottom of the Edit Patient Record window.

The Task Manager provides real-time information about where the patient is (Room), who the patient is with (Owner) and what procedure the patient is undergoing (Task - Status).
- To update a Task, click the arrow
 next to the Patient name.
- To view the next assigned Task, click the arrow next to Next priority.
For more information, click here.
 Top of Page