Sign Off Patient Encounter
An Encounter may need to be signed by various entities, such as the Provider, Tech, Staff, Patient and Witness. The Signatures Element provides the ability to do this, as well a method to indicate whether an Encounter has been signed off.
Requirements
- A user must be logged in to sign off an Encounter.
- A user cannot sign off an Encounter for another user, unless the signing user can enter the Sign Authority Password of the user for which they are signing.
- An Encounter must be Signed off before it can be locked.
- Once an Encounter is locked, the Signatures on the Encounter cannot be changed or deleted.
- If the Encounter includes the Final Outbound Documents Element, all Documents must be reviewed before an Encounter can be signed off.
Preferences for Signoff
In the Office Admin  Preferences module, one of the following preferences must be selected:
- Do not lock Encounter when signing off (This is the default preference.)
- Show a warning and lock Encounter when signing off
- Do not show a warning and lock Encounter when signing off
Step-by-step
From the New Encounter or Edit Encounter window for the Encounter you wish to sign:
- In the Exam Navigator, click the Plus sign
 to expand the Final Findings page and display its Elements.
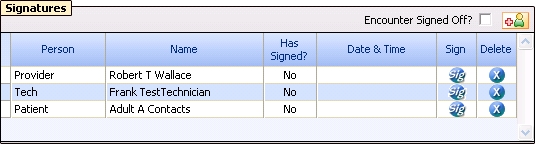
- Select the Signatures Element.
In the Name column:
- The first row displays the name of the Encounter's current Provider.
- The second row displays Tech in the Person field. Once the Tech is entered on the Encounter, the name of the Tech is filled in.
- The third row displays the name of the current Patient.
- For the person whose signature you wish to add to the Encounter, click the Signature button.

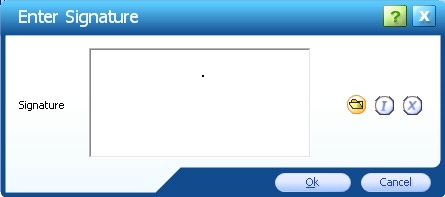
- The Enter Signature popup displays. Do one of the following:
- Click the Browse button
 to browse the local computer for the desired image (usually an image of the Person's Signature).
- Click the Initials button
 to insert the Person's Initials. For a Provider, Tech or other entity in the system, these Initials are created automatically using the Person's name as it is entered in the Office Admin Users module (first, middle and last name).
To clear the entered Signature, click the Clear button
 .
.
- Click the Browse button
- Enter the Signature and click the OK button.
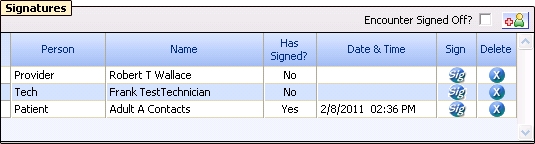
- The Enter Signature popup closes.
- The Has Signed? field updates to Yes for the signature that was entered.
- The Date & Time field updates to the MM/DD/YY and time the Signature was entered.
Note: Once the Signature has been entered, any change to the Provider or Tech name on the Encounter does not change these names in the Signature Element.
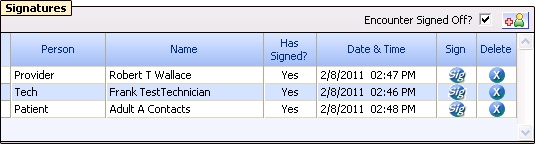
When a Provider adds his/her signature
- The Encounter Signed off check box is checked.
- By default, the Element populates with the Provider for the Encounter.
Note: A Tech or Staff may sign off on behalf of the Provider by entering the Signature authentication password that has been set up in the Office Admin Users module.
Add a Person
- On the Signatures Element, click the Add Person icon.
 The Add Person popup displays.
Note: Only users with Add Signee for Encounter permission can add a Person to an Encounter.
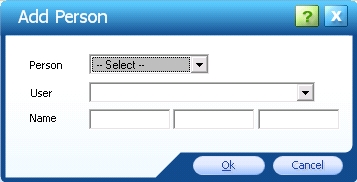
- Select from the Person drop-down list.
- Select from the User drop-down list. The Name field auto-fills.
- Click the OK button close the popup and add the Person. Click the Cancel button to close the popup without adding the Person.
Note: An Encounter must be signed before it can be locked. Once an Encounter has been locked, the Signatures on the Encounter cannot be changed.
Delete a Person
For the Signature you wish to delete:
- Click the Delete button
 in the row of the Signature you wish to delete.
- Click the Yes button to confirm the deletion.
Note: Signatures cannot be deleted from an Encounter once the Encounter is locked.
Once an Encounter is saved, any further edits to a signed-off Encounter (such as adding an Addendum Note) do not change that Encounter's signed-off status.
 Top of Page