 MaximEyes® SQL - Electronic Health Records
Table of Contents | Glossary
Create New Flow Sheet
Flow Sheets enable the user to view and compare Element data across Patient Encounters. For example, a Flow Sheet can be configured to list the Chief Complaint for each Patient Encounter.
For general information about Flow Sheets, click here.
Step-by-step
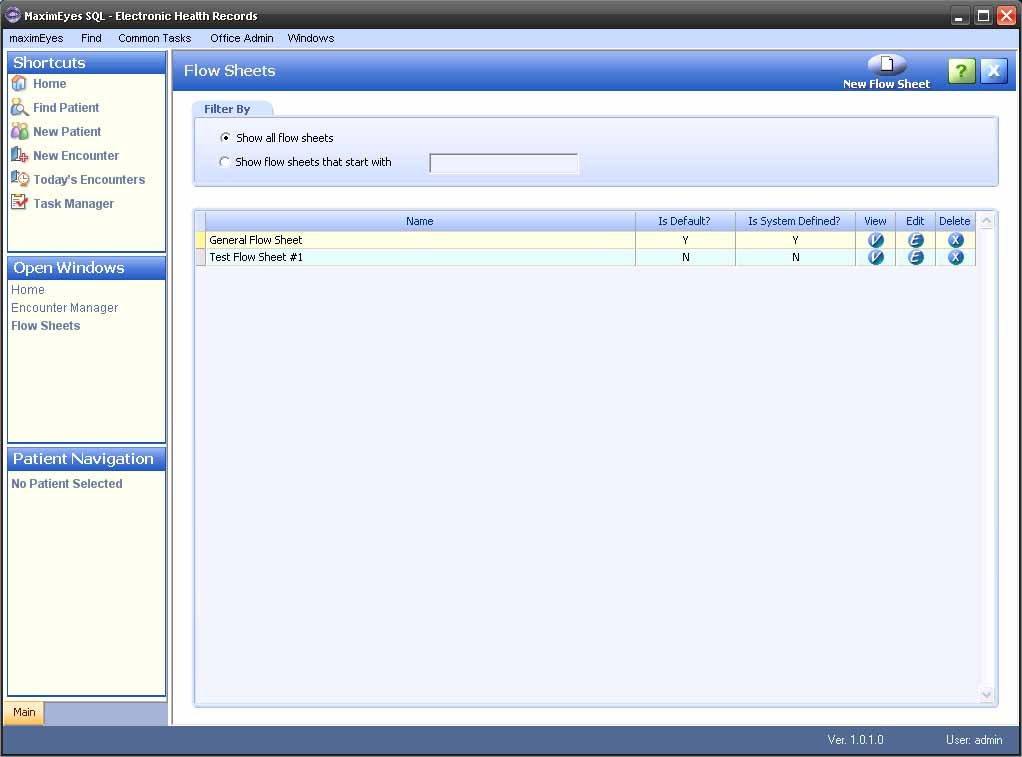
- Open the Flow Sheets window (for help, click here).
- Click the New Flow Sheet button in the Flow Sheets window Main toolbar.
- The New Flow Sheet popup displays on top of the Flow Sheets window.
- The cursor is in the Flow Sheet Name field of the Flow Sheet Details tab.
- The Open Windows list displays Flow Sheets.
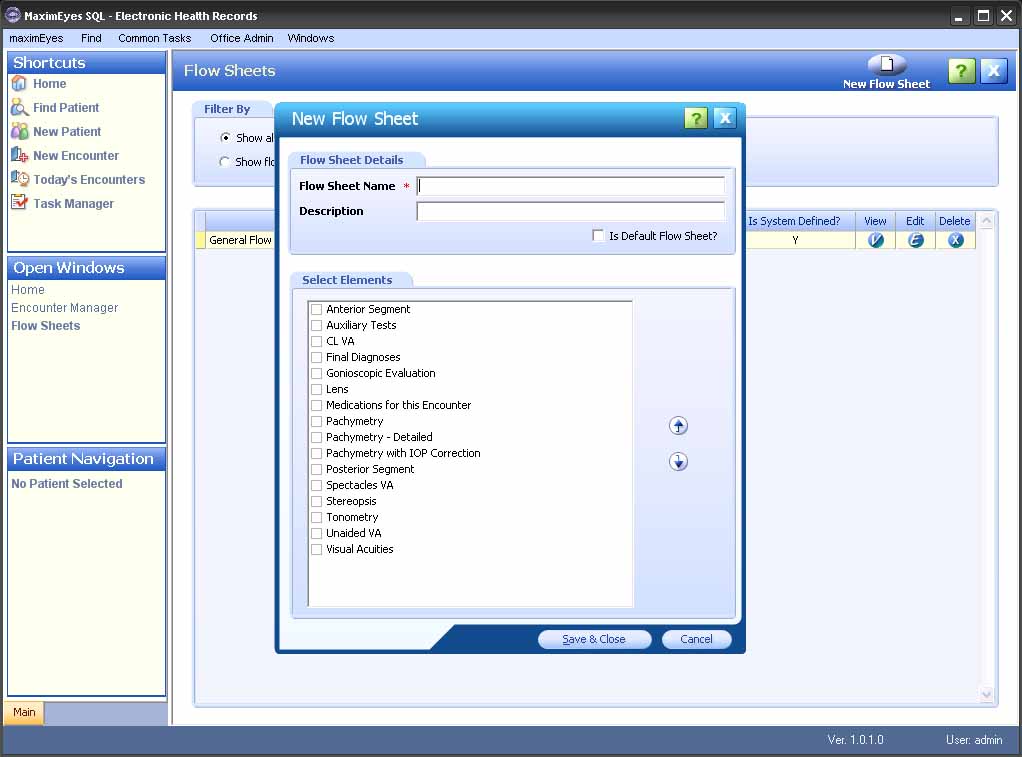
- Enter the data for the Flow Sheet Details tab and Select Elements tab.
- To close the popup without saving changes, click the Cancel button.
- To close the popup and save changes, click the Save & Close button.
- The New Flow Sheet popup closes.
- The new Flow Sheet name displays at the end of the list of flow sheets in the Flow Sheets window.
Flow Sheet Details tab
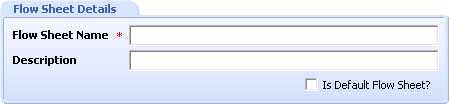
Use these fields to define the following. Required fields are marked with a red asterisk.*
- Flow Sheet Name * (must be unique).
- Flow Sheet description.
- Designate this Flow Sheet as the default Flow Sheet.
Note: If another Flow Sheet is already designated as the default, a warning displays, asking you to confirm the new Flow Sheet as the default.
Select Elements tab

Use the mouse to select and order the Encounter Elements to include on the Flow Sheet.
- To select an Element to include in an Encounter Flow Sheet, double-click the Element name.
A check displays in the box to the left of the Element name.
- To de-select an Element to include in the Flow Sheet, double-click the Element name.
The check in the box to the left of the Element name clears.
Do the following to change the order in which the Elements appear on the Flow Sheet:
- Select the Element to be moved.
- Click the Up arrow
 to move the Element up one position.
- Click the Down arrow
 to move the Element down one position.
Related topics
 Top of Page
Copyright © 2011 First Insight Corporation. All rights reserved.