Associate eFiles with IOL Measurements
Use the eFiles - IOL Measurements popup to associate eFiles with the IOL Measurements section of the Plan tab on a Cataract Surgery Sheet.
Step-by-step
- Find the desired Patient Record. For help, click here.
- In the Patient Navigation list for the selected patient, click Cataract Surgery Sheet.
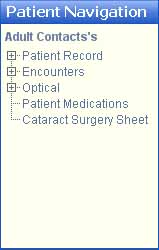
- The Cataract Surgery Sheet displays in the Contents pane.
- Click the Edit button in the Main toolbar. The Edit Cataract Surgery Sheet displays in the Contents pane.
- In the Plan tab, click the IOL Selection tab. The tab is highlighted in orange.
- Click the Show eFiles icon.
 The eFiles - IOL Measurements popup displays.
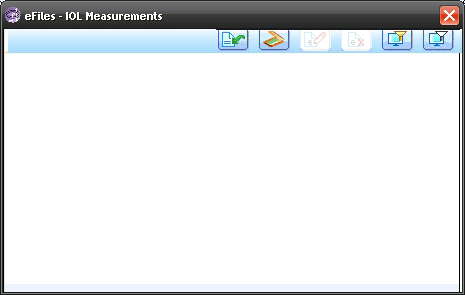
- If no eFiles are associated, do one of the following:
- When an eFile is selected, all the buttons on the Toolbar display. Click here to learn about their functionality.
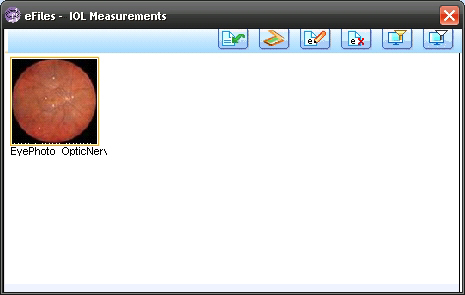
- When done, click the red X in the upper-right corner of the popup.
- The popup closes and the Cataract Surgery Sheet displays.
- The Show eFiles icon displays an asterisk
 to indicate eFiles are associated with the IOL Measurements.
Toolbar buttons

All the buttons on this toolbar display when an eFile is selected.
| Button | Function |
|---|---|
|
|
Import eFiles |
|
|
Scan eFiles |
|
|
View or Edit Selected eFile |
|
|
Delete Selected eFile |
|
|
Filter eFiles |
|
|
Clear Filter |
Import eFiles 
- Click to display the Open dialog box.
- Browse to the desired file.
- Select the file and click the Open button. The Import eFile window displays.
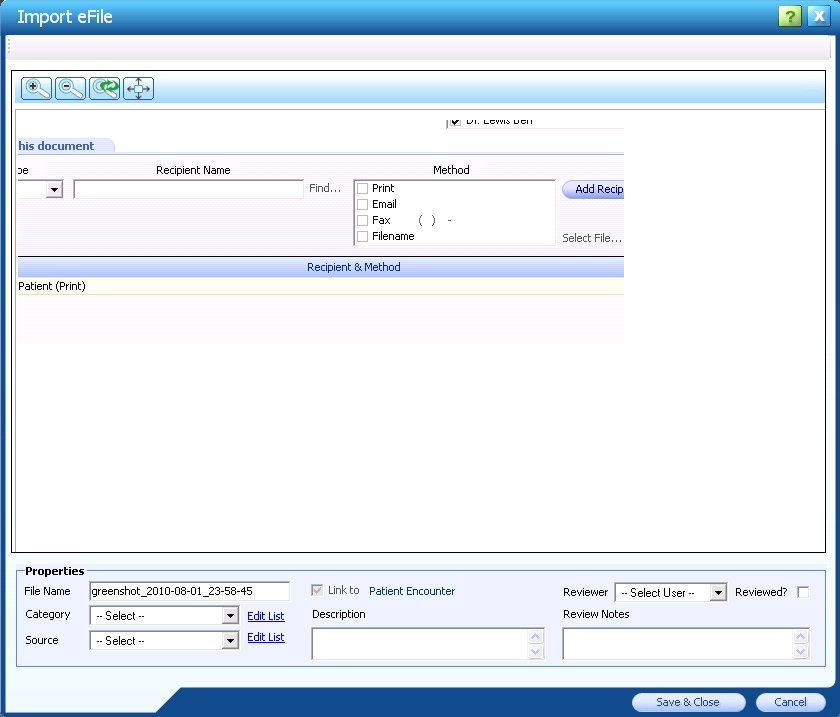
- The eFile image displays in the top section of the popup. Click the corresponding icons to:
 Zoom in
 Zoom out
 Reset eFile image to original magnification
 Display the eFile image as Full Screen
- Complete the fields in the Properties section.
- The File Name auto-populates with the name of the selected file. Enter a difference name, if desired.
- Select the Category and Source. To edit the Value List for Category or Source, click their respective Edit List links.
- Select the Reviewer and whether the eFile has been reviewed.
- Optionally, type a Description and/or Reviewer Notes.
Note: Once reviewed, the Reviewer can add additional Reviewer Notes to this field.
- To close the Import eFile popup and save changes, click the Save & Close button.
- To close the popup without saving changes, click the Cancel button.
Scan eFiles 
- Click to display the MaximEyes SQL - Scanlink popup.
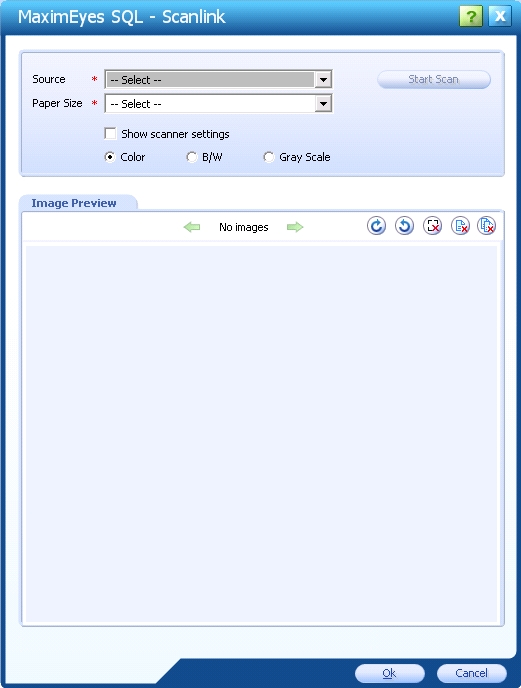
- Select the source and paper size.
- Optionally, select to show the scanner settings and/or change the default mode from color to black and white or grayscale.
- Click the Start Scan button. When complete, the scanned eFile displays in Image Preview tab.
- To save the eFile image, click the OK button. To close the popup without saving the eFile image, click the Cancel button.
View or Edit Selected eFile 
Note: This icon is active when an eFile is selected.
- Click the eFile you wish to edit or view.
- Click the View or Edit Selected eFile icon to display the Edit eFile popup.
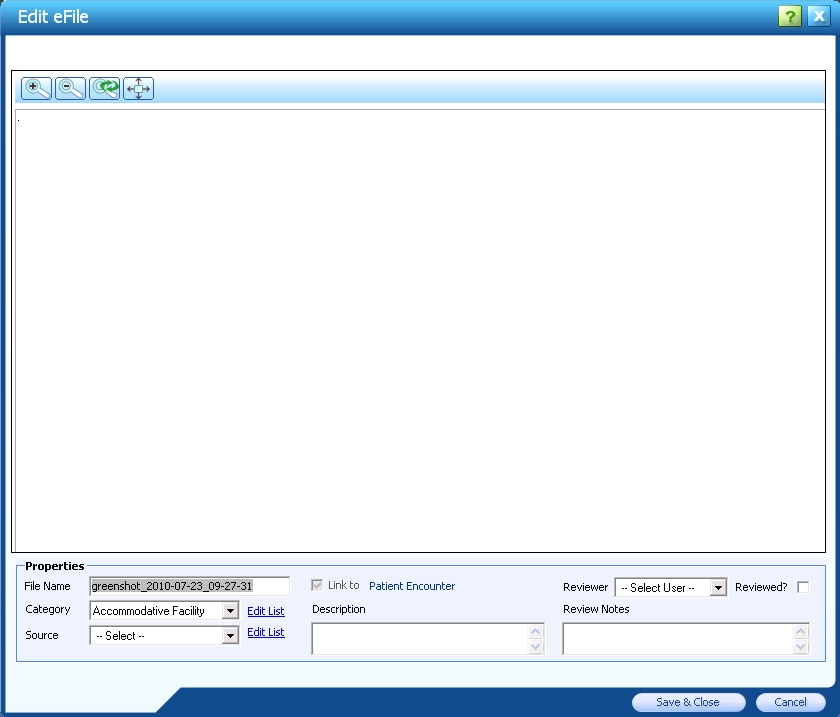
- The eFile image displays in the top section of the popup. Click the corresponding icons to:
 Zoom in
 Zoom out
 Reset eFile image to original magnification
 Display the eFile image as Full Screen
- Edit the fields in the Properties section, including the eFile name.
- To edit the Value List for Category or Source, click their respective Edit List links.
- To close the Edit eFile popup and save changes, click the Save & Close button.
- To close the popup without saving changes, click the Cancel button.
Delete Selected eFile 
Note: This icon is active when an eFile is selected.
- Click the eFile you wish to delete.
- Click the Delete Selected eFile icon. A warning displays.
- Click the Yes button to confirm the deletion. The deleted eFile no longer displays.
- Click the No button to cancel the deletion.
Filter eFiles 
- Click to display the eFiles Filter popup.

- In the Filter By tab, select the criteria by which you wish to filter the eFiles.
- Click the OK button to filter the list. The popup closes and those eFiles that match the selected criteria display.
Note: Although those eFiles that do not match the criteria do not display, they have not been deleted from MaximEyes SQL.
- Click the Clear button to clear all selected criteria.
- Click the Cancel button to close the popup without filtering the eFiles.
Clear Filter 
- Click to clear the selected criteria from the eFiles Filter popup.
 Top of Page